
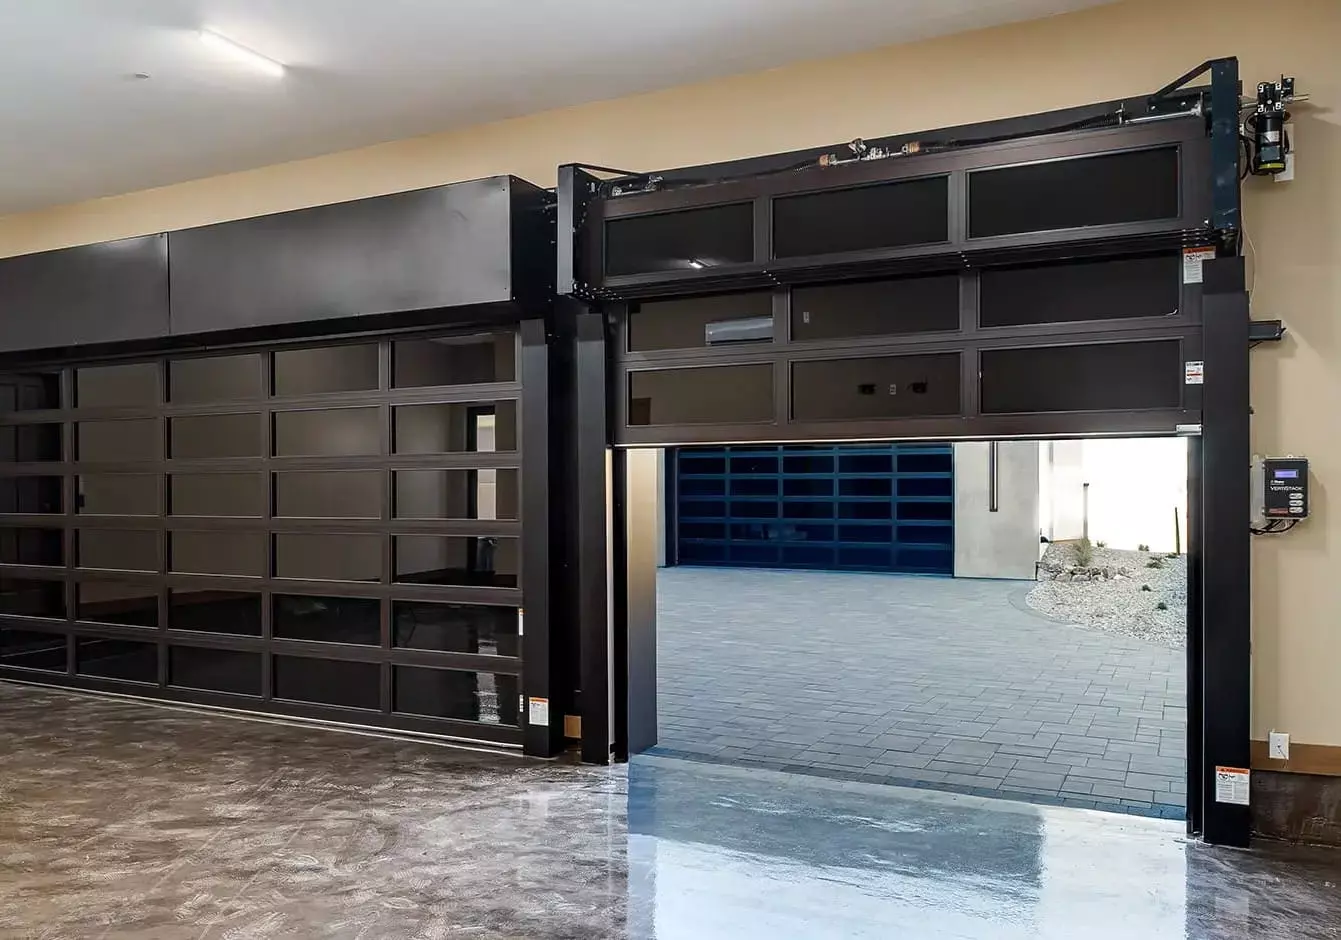
A garage door that closes partway and reverses, or one that refuses to close unless you hold the wall button, is more than a nuisance. Your opener is trying to protect people and property. Before you assume the motor has failed, a few simple, safe checks can reveal the real cause. This diagnostic guide focuses on what a homeowner can verify without special tools: photo eye alignment, door balance, track friction, and basic opener settings. It also flags red lines where spring tension, cables, or bent steel demand a professional. If a step feels uncertain, stop. A good diagnosis starts with clear observations, not guesswork.
-
Start with the Symptom: What Exactly Happens When You Press Close
Watch and listen closely. Do the remote controls and the wall console behave the same way, or does one work while the other doesn’t? Many openers signal trouble through blinking indicator lights on the motor housing or wall control. A rapid flash as the door tries to close usually points to the photo eyes near the floor, while a single click and silence can indicate a lock mode on the wall control. If the door travels a foot or two and then reverses, the opener likely sensed extra force from binding rollers, a dented track, or a heavy, out-of-balance door.
If your notes suggest a damaged component rather than a simple setting issue, consult a qualified Garage door supplier for an on-site evaluation. Describing the exact symptom sequence helps a technician go straight to the right test, whether that is checking a loose header bracket above the door or verifying the opener’s down limit calibration.
-
Rule Out the Photo Eye: Alignment, Glare, and Grime
Photo eyes sit a few inches above the floor on both sides of the opening. Their small LEDs should be steady, not flickering, when aimed directly at each other. Lightly clean the lenses with a soft cloth; dust, cobwebs, or a hardened water spot can break the beam. Check that both brackets are straight and snug, and that a staple isn’t pinching wires. A common afternoon problem is direct sunlight flooding the receiver lens. Shade both sensors with a piece of cardboard and try again. If the door now closes, slightly rotate the sensor housings or add a small hood to reduce glare.
Reflective floors can also bounce light into a sensor. Placing a dark, non-reflective mat directly under the sensors is a quick test. Avoid twisting a sensor to make the LED appear steady when the beam no longer lines up at door level. The lenses must face each other squarely. If an LED will not stay solid despite careful alignment and clean lenses, wiring may be damaged, or the sensor itself may be failing. Do not tape over a lens or bypass the circuit; you are defeating the opener’s primary safety feature.
-
Check Door Balance and Hardware That Can Trip the Opener’s Safety
Pull the emergency release cord to put the door in manual mode. With the opener disconnected, lift the door by hand. A properly balanced door with good torsion or extension springs should feel relatively light and should hover near waist height without shooting up or slamming down. If it drops hard, the springs may be out of adjustment or broken. Look for a visible gap in a torsion spring, a loose cable off the drum, or a cable frayed along the vertical track. Do not touch springs, drums, or set screws. Addressing spring tension is specialist work.
Next, roll the door through the tracks and feel for rough spots. Flat-spotted rollers, a bent vertical track, or a loose jamb bracket can add friction that the opener reads as an obstruction. Tighten any obvious loose lag screws at brackets that secure the track to the framing, and clear small debris from the track lips. A realistic scenario: a bike handlebar nudges the right track, creating a slight pinch point that only shows up under load. Another: the bottom seal freezes to the threshold in winter or bunches against a raised floor seam, triggering a reversal. Free the seal, clear the threshold, and consider replacing a hardened or torn astragal to improve ground contact without extra drag.
-
Verify Travel Limits and Force Without Sacrificing Safety
Travel limits tell the opener how far to move the door. If the down limit is set a bit too far, the door can hit the floor, flex the bottom section, and immediately reverse. If it is set too short, you may see a small gap at the bottom. Temperature swings can change how the door fits the opening, so seasonal fine-tuning may be normal. Use the opener’s marked limit adjustments or digital programming steps from the manual to make small changes, testing after each tweak. Keep the force setting conservative; increasing close force to mask a heavy or binding door trades convenience for risk. After any adjustment, do a simple reversal check by placing a scrap of wood flat on the floor under the door and closing it under supervision. The door should stop and reverse on contact. Also verify that the wall console is not in lock or vacation mode, which can block remotes and mimic a sensor fault. Confirm the opener rail is straight, the header bracket above the door is secure, and the emergency release rope is not snagging on the top section. If remote range has recently dropped after switching to new bulbs, try garage-door-compatible LEDs to reduce interference before assuming the receiver has failed.
When to Stop DIY and What to Maintain Going Forward
Stop immediately and call a professional if you see a broken torsion spring, a cable off the drum, a bowed or twisted track, a cracked hinge, or a top section pulling away where the opener arm attaches. These conditions can worsen quickly, causing the door to jump the tracks or panels to crease under load. Likewise, if the door feels markedly heavier in manual mode or will not stay at mid travel, don’t try to compensate with the opener’s force setting. The opener is not designed to lift a door with failing counterbalance hardware.
Most intermittent reversals come down to a few routine habits: keep photo eye lenses clean and aligned, reduce glare with small hoods if your driveway faces the sun, wipe the bottom seal and threshold so they don’t stick, and lubricate steel rollers and hinges twice a year with a garage door-rated spray. Check track fasteners for tightness during seasonal chores and test the door’s balance with the opener disconnected. A careful, step-by-step diagnosis protects both safety and equipment. When symptoms point beyond alignment and light maintenance, bringing in local expertise ensures the door, opener, and counterbalance system keep working as a matched set.








Leave a Reply