

A comfortable, efficient home often succeeds or fails at the attic. Many houses have plenty of insulation on paper yet still battle hot rooms, drafty halls, ice at the eaves, or stubborn moisture stains on the roof sheathing. The difference usually comes down to sequence and assembly decisions, not just how many inches of insulation get added. This article lays out a practical, building-science approach that prioritizes diagnostics, air sealing, material selection that fits the assembly, and balanced ventilation. Use it as a framework before you schedule work or head to the hardware store. Done in the right order, upgrades in the attic can deliver durable comfort and lower energy use for years.
Start With Diagnostics: Stack Effect, Duct Leaks, and Thermal Bypasses
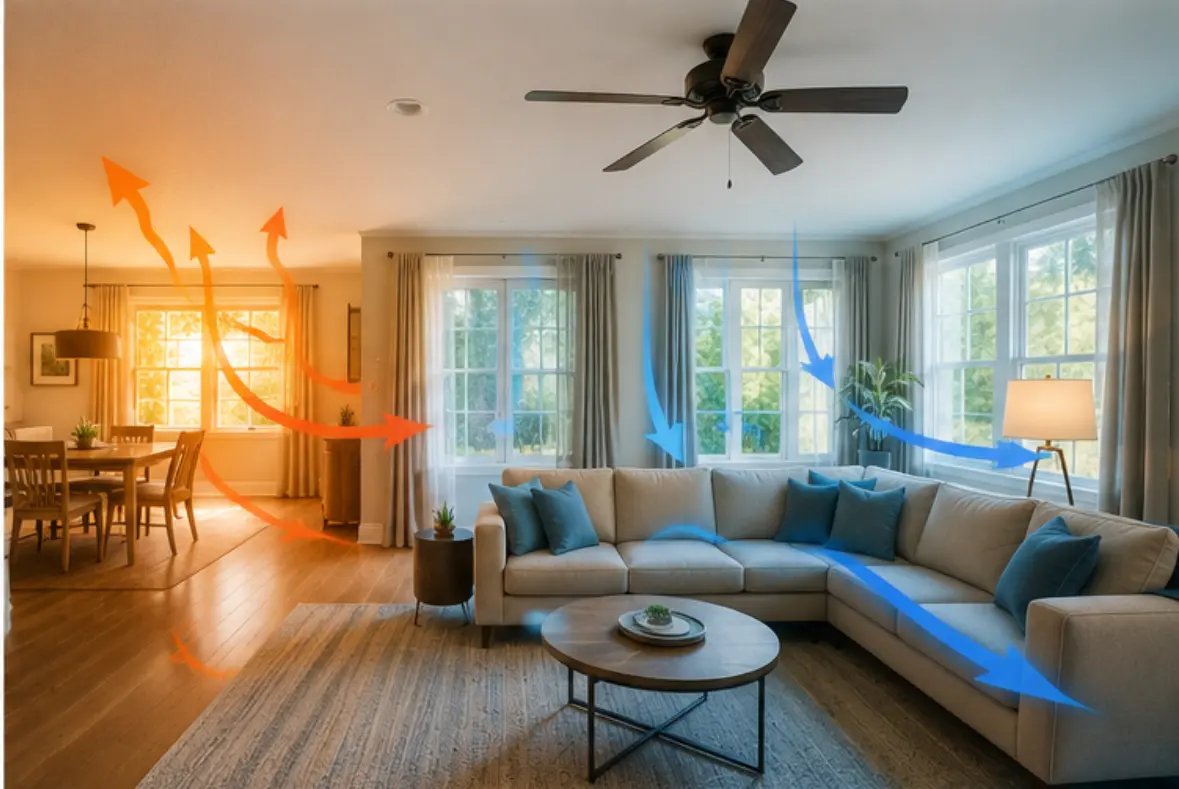
Warm air rises and escapes through gaps at the top of the house, a pressure pattern known as the stack effect. When that exfiltration happens, outside air is pulled in down low to replace it. In attics, the biggest escape routes usually include the attic hatch, plumbing and wiring penetrations, bath fan housings, top plates, and the many cutouts for recessed lighting. Ductwork in vented attics can compound the problem: leaky boots and seams push conditioned air straight into the attic while drawing unconditioned air into returns. Together, these “thermal bypasses” set the stage for comfort complaints and high bills, even when R-values look adequate.
Before deciding on materials, map the problems you need to solve. Look for darkened insulation near eaves from wind washing, feel for air movement at the hatch, and note any staining around can lights or bath fans. If you are comparing energy-efficient attic insulation solutions, a short diagnostic checklist helps you choose a path that tackles the root causes, not just the symptoms. A good plan prioritizes sealing the largest leaks, addressing duct losses, and verifying that ventilation can flow freely once insulation is installed.
Air-Seal Before You Add R-Value: What to Seal and Why
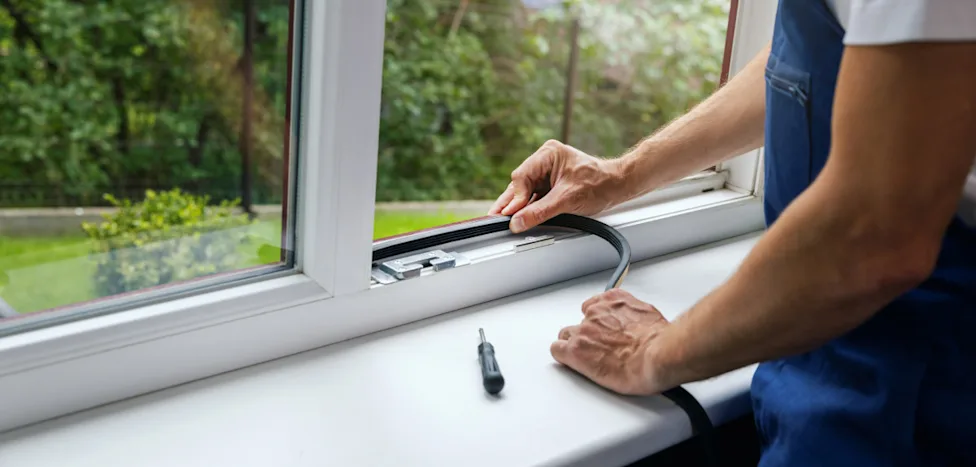
Insulation slows heat transfer, but it does not stop air leaks. Seal first. Common methods include foam or caulk at top plates and small penetrations, rigid foam or metal blocking with sealant around chases, weatherstripping and insulation for the attic hatch, and mastic on duct seams and boots. Over recessed lights, install rated covers or change to IC-rated fixtures and then air-seal as allowed by the fixture instructions. Around chimneys and flues, maintain proper clearances and use sheet metal with high-temperature sealant where appropriate. Every hour spent sealing big leaks pays back in smaller heating and cooling loads and better moisture control.
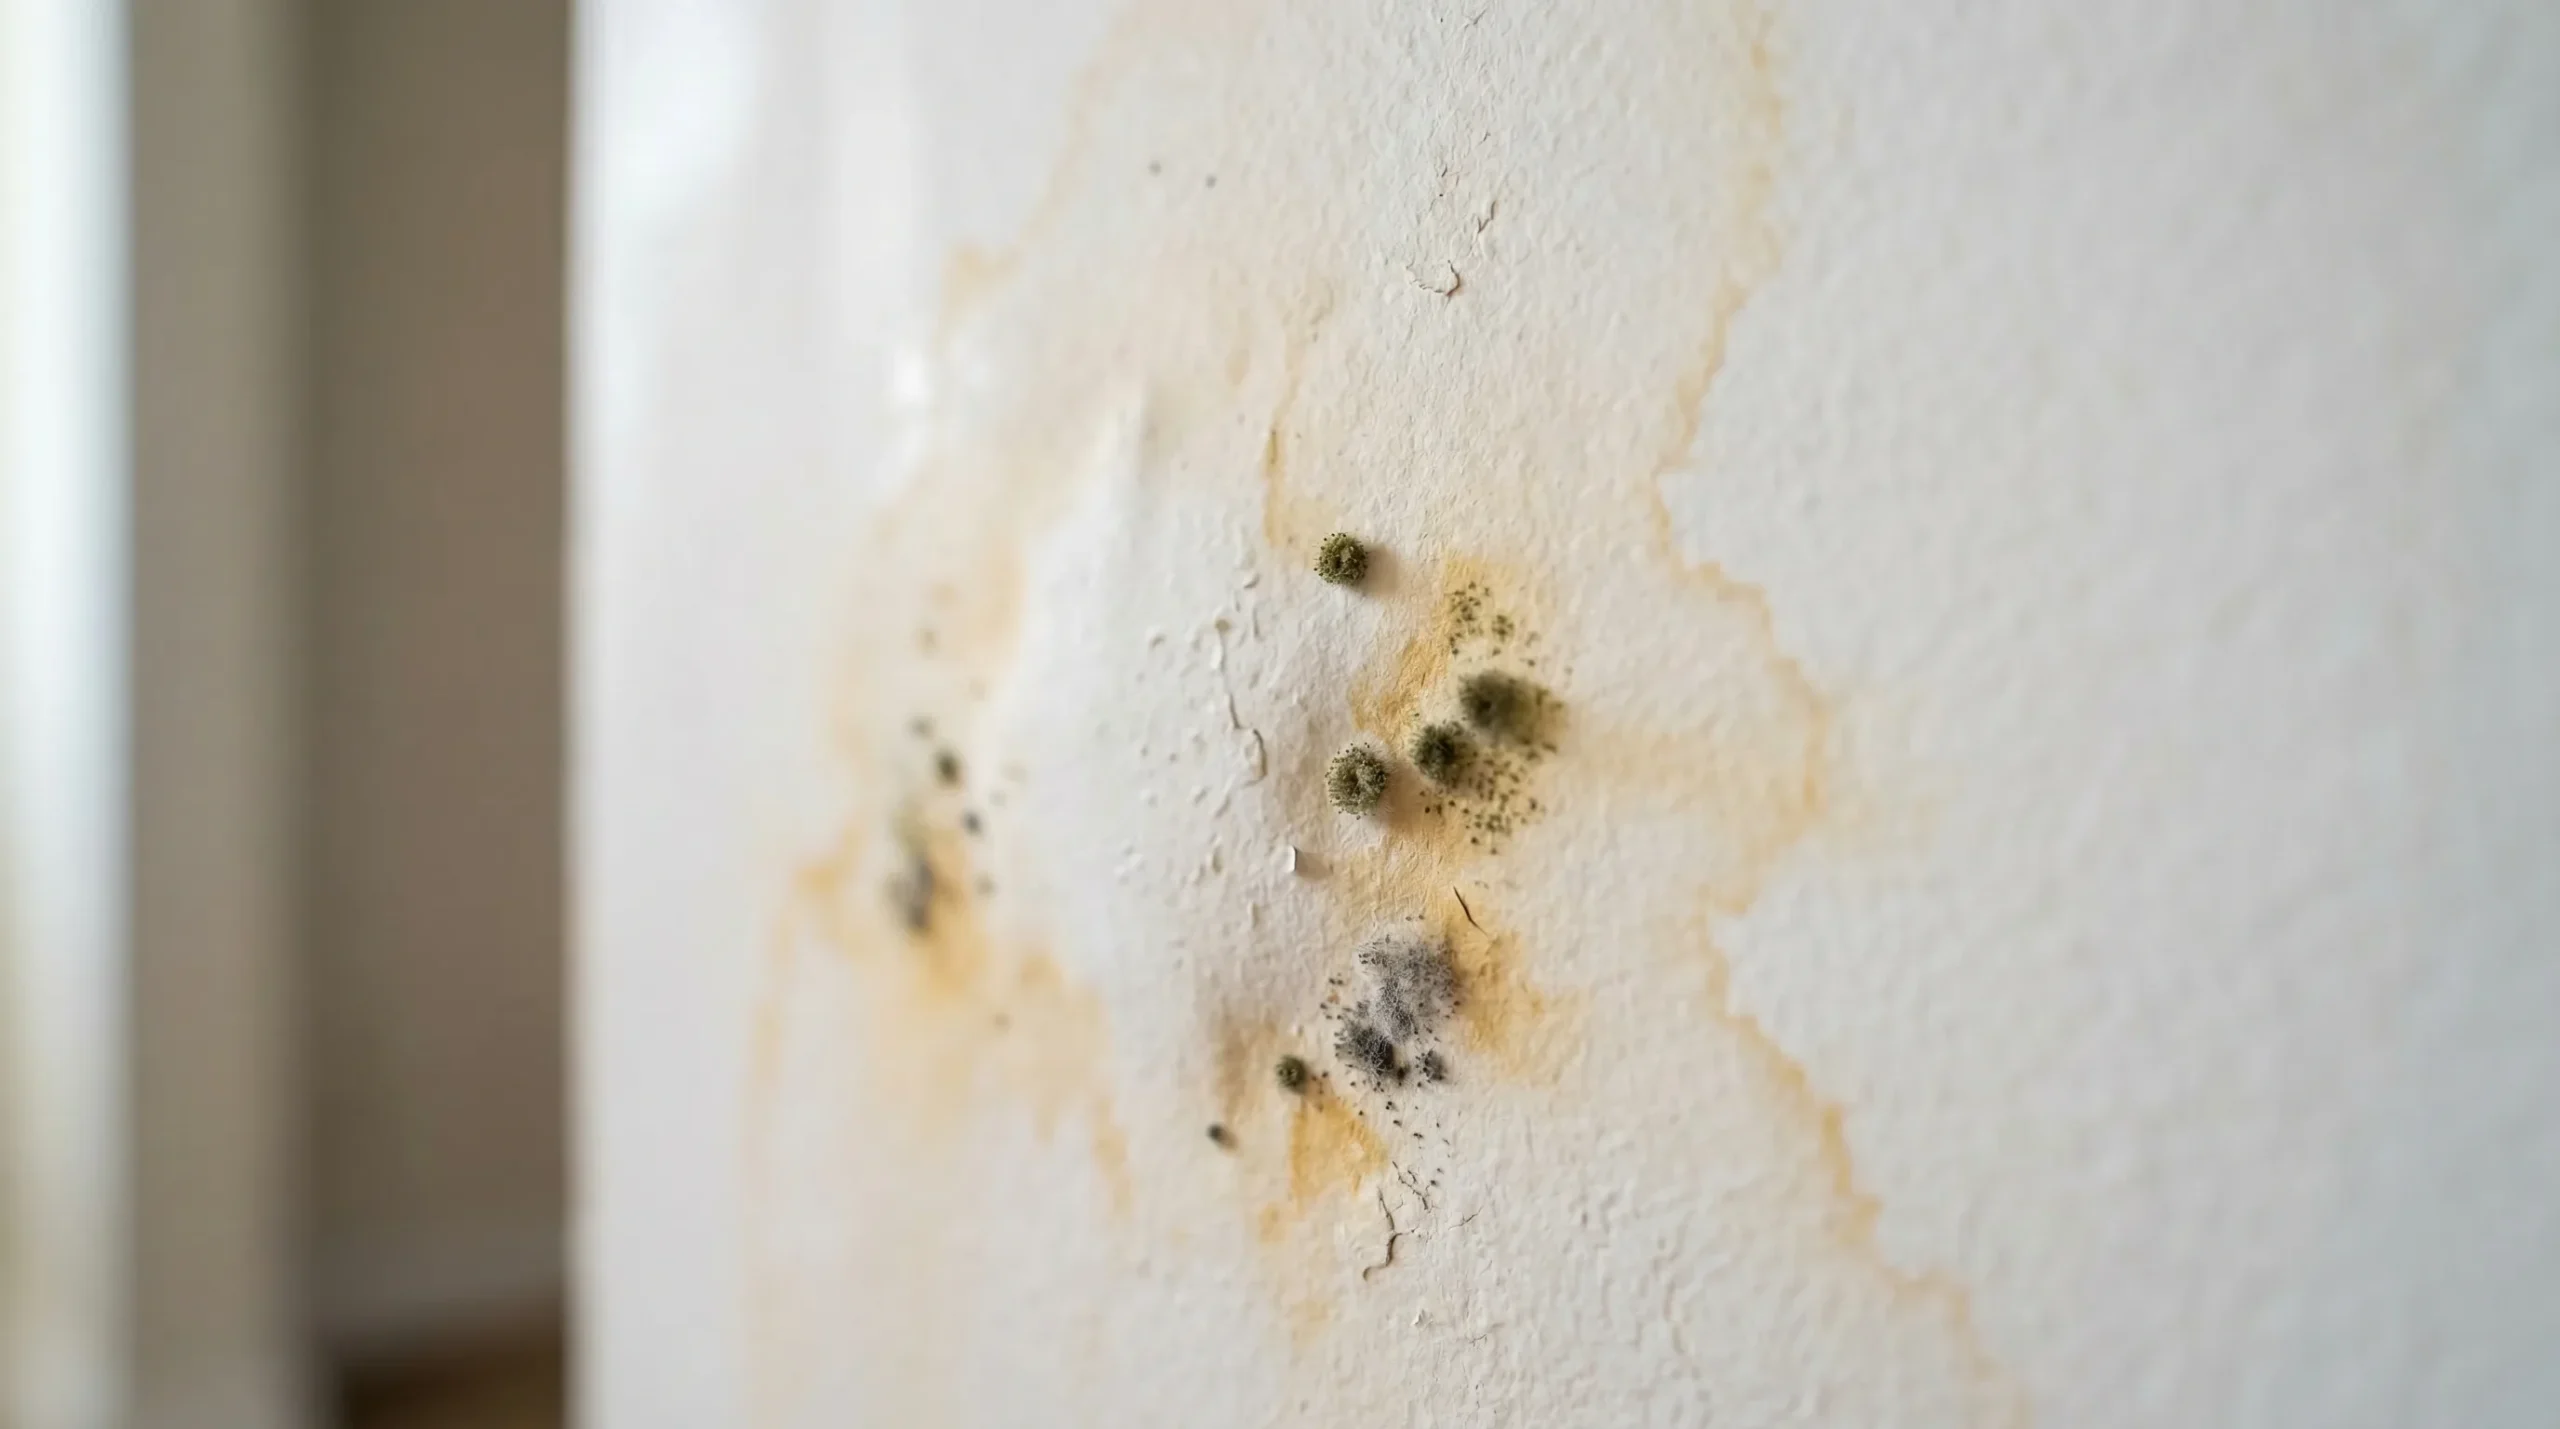
Skipping air sealing invites convective looping through fluffy insulation and wind washing near eaves, which can slash real-world R-value. It also pushes interior humidity into a cold attic in winter, where it can condense on the roof deck and show up as frost or staining. Many moisture issues tagged as “roof problems” start as air leakage problems. Once the lid of the house is effectively sealed, added insulation performs closer to its labeled value and ventilation can do its job without being overwhelmed by indoor air pouring into the attic.
Match Insulation to the Assembly: Cellulose, Fiberglass, Spray Foam, and Radiant Barriers
For a vented attic with the insulation at the floor, blown-in cellulose or fiberglass is common. Cellulose tends to resist air movement better at a given depth, which helps in windy eave zones when paired with baffles and insulation dams. Fiberglass can perform well too, but avoid compressing batts and protect the eaves from wind washing. Mark depth uniformly with rulers so installers hit the target R-value across the field, not just at the center. Around the hatch, build an insulated dam so the lid and weatherstripping can seal without being buried or damaged.
Some homes benefit from moving the thermal boundary to the roof deck, creating an unvented attic with spray foam. This can bring ducts inside the conditioned space and tame extreme attic temperatures. Closed-cell foam provides high R per inch and a strong vapor retarder; open-cell foam offers good air sealing with more vapor permeability. The trade-off is drying potential of the roof deck and cost. In hot climates, a radiant barrier under the roof sheathing can reduce radiant heat gains to the attic, but it is not a substitute for air sealing and proper R-value. Choose the assembly that best controls air, heat, and moisture together, not just the product with the most impressive label.
Keep the Roof Cold and the House Dry: Vent Baffles, Soffit Intakes, and Vapor Control
If you keep the attic vented, ensure air can enter at the soffits and exit at a ridge or high gable. Install vent chutes (baffles) from the eaves to maintain a clear air channel above the insulation. Add dams to stop loose-fill from spilling into the soffits or blocking intakes. On low-slope or hip roofs where ridge length is limited, combine ridge, off-ridge, or gable vents, but avoid short-circuiting airflow by placing exhaust too close to intake. Balanced intake and exhaust help keep the roof deck cold in winter to reduce ice dams and limit attic heat in summer.
Vapor control should match climate and assembly. Kraft-faced batts provide a moderate interior vapor retarder when installed properly; smart vapor-retarder membranes can adapt to seasonal changes in mixed climates. In cold regions, ensure roof assemblies control dew point at the roof deck, especially with foam on the underside. In humid regions, avoid interior polyethylene on ceilings that could trap moisture. Regardless of climate, seal and duct bath and kitchen fans outdoors, not into the attic. When air leakage is minimized and vapor is managed, ventilation can carry off incidental moisture rather than battling a constant influx from below.
Applying the Sequence: A Ranch Attic and a Half-Story Cape
Scenario 1: A 1970s ranch in a hot climate with ducts and multiple can lights in a vented attic. Start by replacing or covering non-IC-rated recessed lights with rated enclosures and air-sealing. Seal the attic hatch, top plates, and all penetrations. Pressure-seal and mastic all duct connections, then bury ducts under new loose-fill where allowed by code and manufacturer guidance. Install baffles at every soffit bay, add dams, and blow cellulose or fiberglass to the target depth across the entire field. Consider adding a radiant barrier at the roof deck if attic solar gain is extreme. The result is lower attic temperatures, tighter ducts, and insulation that performs at its label value.
Scenario 2: A half-story Cape in a cold climate with knee walls and short sloped ceilings. Option A is to convert to an unvented roof with spray foam at the roof deck, which simplifies the boundary and reduces ice-dam risk. Option B keeps venting: install continuous baffles in the sloped bays, dense-pack or use high-density batts without voids, and add rigid foam to the back of knee walls with taped seams to block air movement. Seal the floor of the attic behind knee walls and insulate to full depth, then weatherstrip access doors. Both paths demand meticulous air sealing; the unvented path improves comfort near the slopes but must ensure proper roof-drying strategy.
Durable attic upgrades come from getting the order right. Diagnose the big leaks and duct losses, seal thoroughly, choose insulation that fits your assembly, and make sure ventilation and vapor control can work as intended. If you are unsure which path fits your house, an energy audit or a consultation with a building-performance specialist can clarify options and trade-offs. After the work, check that bath fans exhaust outdoors, confirm the attic hatch still seals, and make a quick seasonal pass to keep soffit screens clear. The attic will stay quiet, dry, and efficient when details and sequence align.







Leave a Reply