
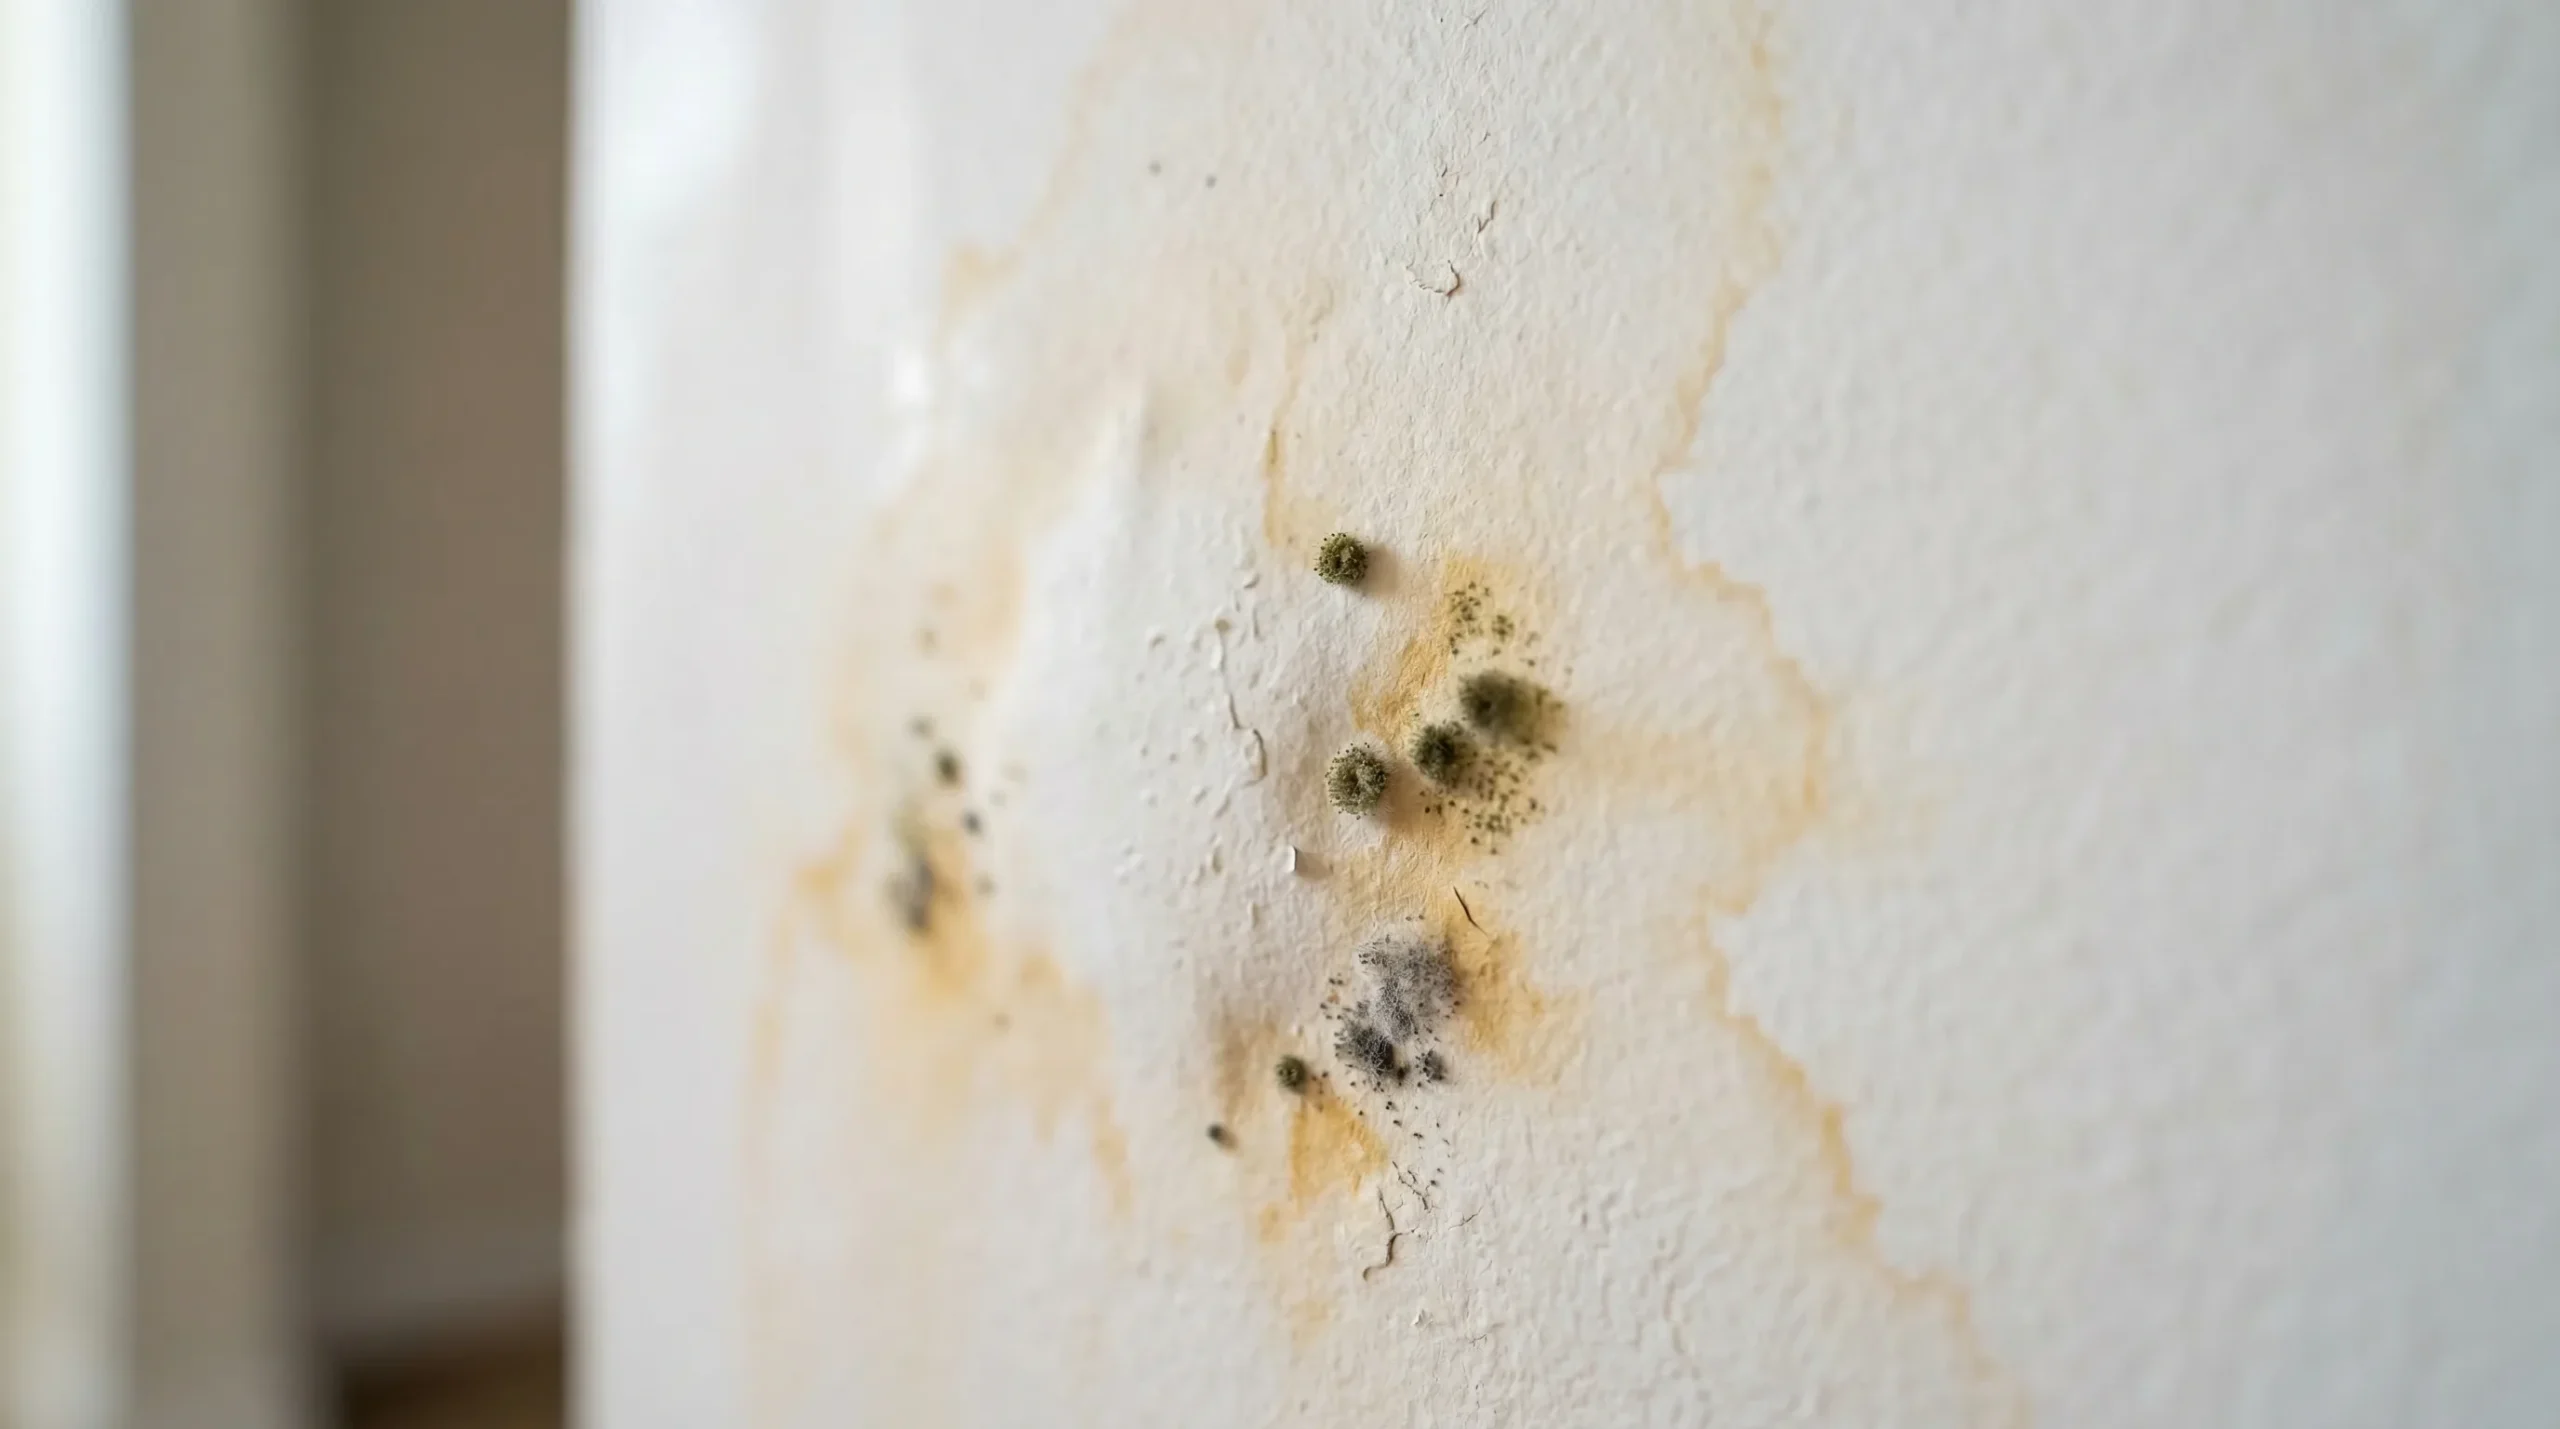
When a supply line bursts behind a wall or a washing machine hose pops off mid-cycle, minutes matter. Standing water wicks into drywall, soaks carpet padding, and creeps under baseboards, quietly saturating insulation and subflooring. The faster you interrupt that chain of damage, the less demolition, drying time, and disruption you will face. This guide focuses on the first 24 hours after an indoor water incident. It explains how to shut down the source, keep water from spreading into clean rooms, choose practical extraction and drying tactics, and spot hidden wet pockets with simple tools. It also flags when DIY efforts should stop because contamination or structural risks have changed the job.
Shut Off Water and Power Safely in Wet Areas
Start by closing the main water shutoff valve or the nearest fixture valve feeding the leak, then relieve pressure by briefly opening a faucet at a lower level. If water is near outlets, a power strip, or the furnace, turn off the relevant breakers at the electrical panel, and reset any tripped GFCI receptacles only after the area is dry. If you are unsure about electrical or structural safety, a local restoration company such as The CleanUP Guys can advise on safe next steps. At the same time, you stabilize the scene and document conditions with photos and short videos.
Example: You find water pooling under a dishwasher. Close the angle stop valve under the sink, unplug the appliance if the plug is dry and accessible, and put towels at the toe kick to keep water from traveling under cabinets. If the leak is at a toilet supply line, close the toilet’s stop valve, flush once to empty the tank, and place a tray beneath the braided hose to catch drips. Do not step into water to reach the breaker panel; use a dry path or wait for a qualified pro.
Stop the Spread: Containment, Extraction, and Salvage Priorities
Keep clean rooms dry by laying plastic sheeting or towels across door thresholds and taping seams with painter’s tape. Remove area rugs and books from wet flooring and prop sofa legs on foil to protect wood feet. Extract pooled water with a wet/dry vacuum, floor squeegee, or mop, working from dry areas toward the source to avoid pushing water into baseboard seams. Bag and remove saturated fiberglass insulation found in wet wall cavities because it can hold moisture against studs and delay drying.
Decide early how to handle contamination. A burst supply line typically releases clean water, but dishwasher discharges, washing machine overflows, and stormwater intrusion can introduce gray or black water. If you smell sewage, see backflow from a floor drain, or notice silt and debris in the water, dispose of porous items like carpet pad, drywall, and particleboard cabinets rather than trying to salvage them. Waiting for an insurance adjuster before starting containment is a common mistake; most carriers expect reasonable mitigation, and extraction plus photos will support your claim.
Drying That Works: Airflow, Dehumidification, and What to Remove
Airflow without moisture control just moves water around. Set up box fans or air movers to create cross breezes that sweep along wet surfaces, then run a room-sized dehumidifier to pull vapor out of the air. Keep windows closed when outdoor humidity is high; you are trying to lower indoor relative humidity, not match a damp outside day. Remove baseboards to allow air into wall cavities, and pull back carpet to discard soaked carpet pad, which acts like a sponge and slows subfloor drying.
Know the trade-off between targeted drying and tear-out. Floating a carpet and drying in place can save time, but only if the water is clean and you can quickly reduce humidity; otherwise, cupping on hardwood, rust on tack strips, and mold behind paper-faced drywall are likely. In kitchens, remove toe kick panels to ventilate beneath cabinets. Avoid running a furnace or central air handler if return ducts were submerged; use portable dehumidifiers and fans until a technician confirms HVAC safety.
Hidden Wet Spots You Must Check (and How to Measure)
Water travels behind finishes and into unseen gaps. Check under vinyl flooring, behind base cabinets adjacent to the leak, inside closets that share a wall, under stair landings, and at the bottom plate where drywall meets the slab. Vinyl and laminate often trap moisture; lifting a corner lets you confirm whether the subfloor is wet. In basements, look behind paneling or at the rim joist for darkened wood and wet insulation, and inspect the vapor barrier for condensation.
Simple instruments improve decisions. A pinless moisture meter can quickly scan drywall and hardwood for anomalies, while a pin meter gives precise readings in baseboards and framing. A hygrometer shows whether indoor relative humidity is falling as drying progresses. Thermal imaging cameras, even consumer models, can reveal cool temperature patterns created by evaporation, highlighting damp studs or wet drywall seams you would otherwise miss. Record readings daily; a downward trend shows your plan is working.
When DIY Stops: Contamination Levels, Structural Risks, and Timelines
Step back if conditions exceed a safe, manageable scope. Sewage-contaminated water, widespread ceiling saturation, bulging drywall, or visible mold growth calls for containment with plastic sheeting, negative air pressure using a HEPA air scrubber, and careful removal of porous materials. Swollen MDF cabinet boxes, delaminated subfloor panels, and sagging plaster ceilings indicate structural compromise that should be assessed before you continue. Many professionals follow published industry guidelines for cleaning and drying; complex jobs benefit from that level of control and documentation.
Time also matters. Paper-faced drywall, carpet pad, and dust inside wall cavities can quickly support mold growth, often within a couple of days if humidity remains high. If you cannot bring indoor relative humidity below roughly 50 percent with sustained dehumidification and airflow, plan for selective demolition to expose wet framing. After the initial push, keep monitoring for musty odors, baseboard staining, or hardwood cupping that suggests residual moisture. If signs persist, schedule a moisture inspection to confirm the affected area is dry.
Quick, methodical action in the first 24 hours limits how far water travels and how much material you must remove later. Shut down the source and unsafe power, create simple barriers, extract water, and pair airflow with real dehumidification so you are drying, not just blowing air. Open up baseboards and toe kicks where needed, and use a moisture meter and hygrometer to confirm progress rather than guess. If contamination, safety concerns, or lingering moisture complicate the job, pause and bring in help before secondary damage sets in. Careful documentation and steady monitoring over the next week will protect your home and simplify any insurance conversations.










Leave a Reply